Going solar is one of the best decisions individuals and companies can make these days. But success with a solar investment comes down to how well the installation is done. A smooth solar panel installation process guarantees not only safety and compliance but also maximum system performance and timely approvals.
Careful planning and execution are essential for a smooth solar panel installation. This ensures customers enjoy hassle-free clean energy for years.
Following are the step-by-step solar panel installation details that cover from assessment to handover so you can be sure of what to expect.
Assess needs and site
The initial step in the solar PV installation process is to assess your energy needs and site circumstances.
Check your 12-month electricity bills to get an understanding of your average monthly usage.
Define offset goals do you want to pay for 50%, 75%, or 100% of your use?
Select the appropriate system type on-grid, hybrid, or off-grid depending on your personal needs and budget.
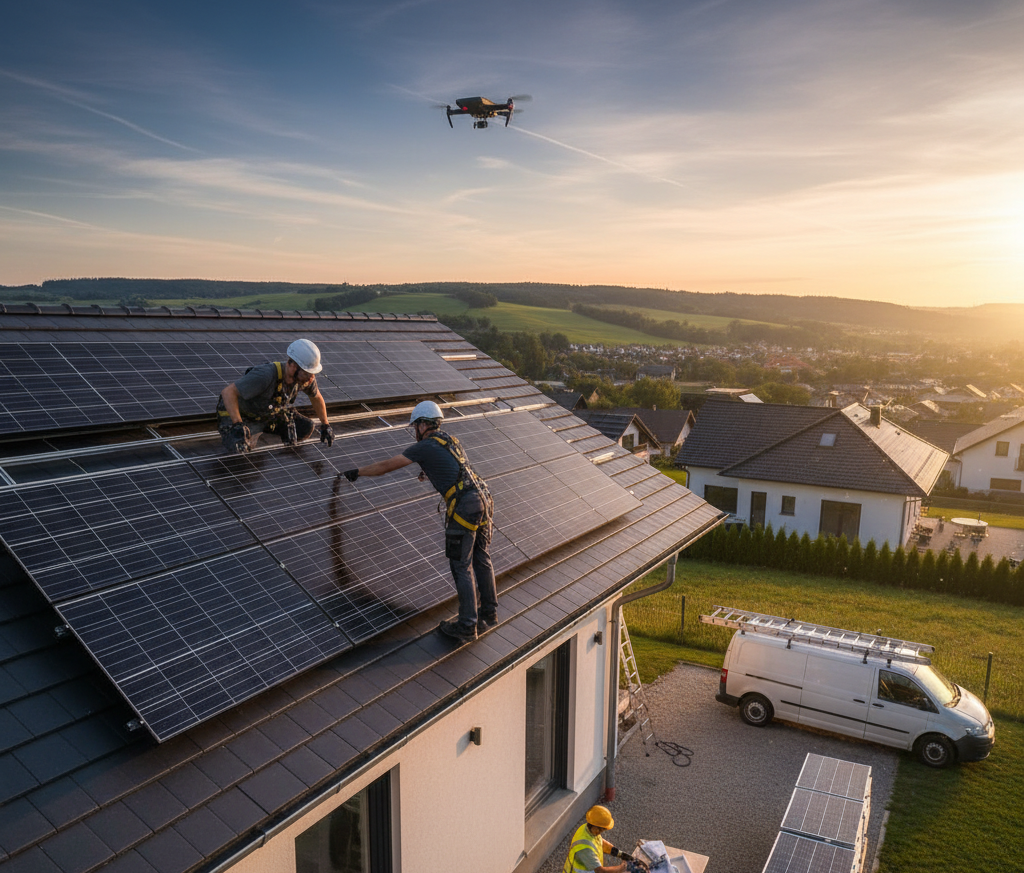
Site inspection Roof slope, orientation, shading analysis, and strength of the structure.
Emmvee's team performs detailed inspections to make sure your solar rooftop installation process is done to maximize the best outcomes for your property.
System design and sizing
Following the site survey, engineers proceed to system design and sizing, a vital step in the sequential solar panel installation process.
Complete the module layout on your roof.
Choose the stringing approach (series, parallel, or hybrid).
Choose the proper inverter type (string, central, or micro).
Choose balance of system (BOS) components such as junction boxes, surge arrestors, and cabling.
Include thermal expansion spacing to avoid long-term damage.
A properly planned layout guarantees your solar PV installation process achieves maximum efficiency and longevity.
Approvals and interconnection
Pre-initiation of physical work is the time to obtain the required clearances.
File for local permits from municipal councils.
Comply with utility interconnection and net metering rules.
Entire steps for meter change or bidirectional metering.
Having an experienced crew such as Emmvee assists in lessening approval delays, which means your solar panel installation process remains on track.
Mounting structure installation
With clearance of documents, site work begins with structure mounting.
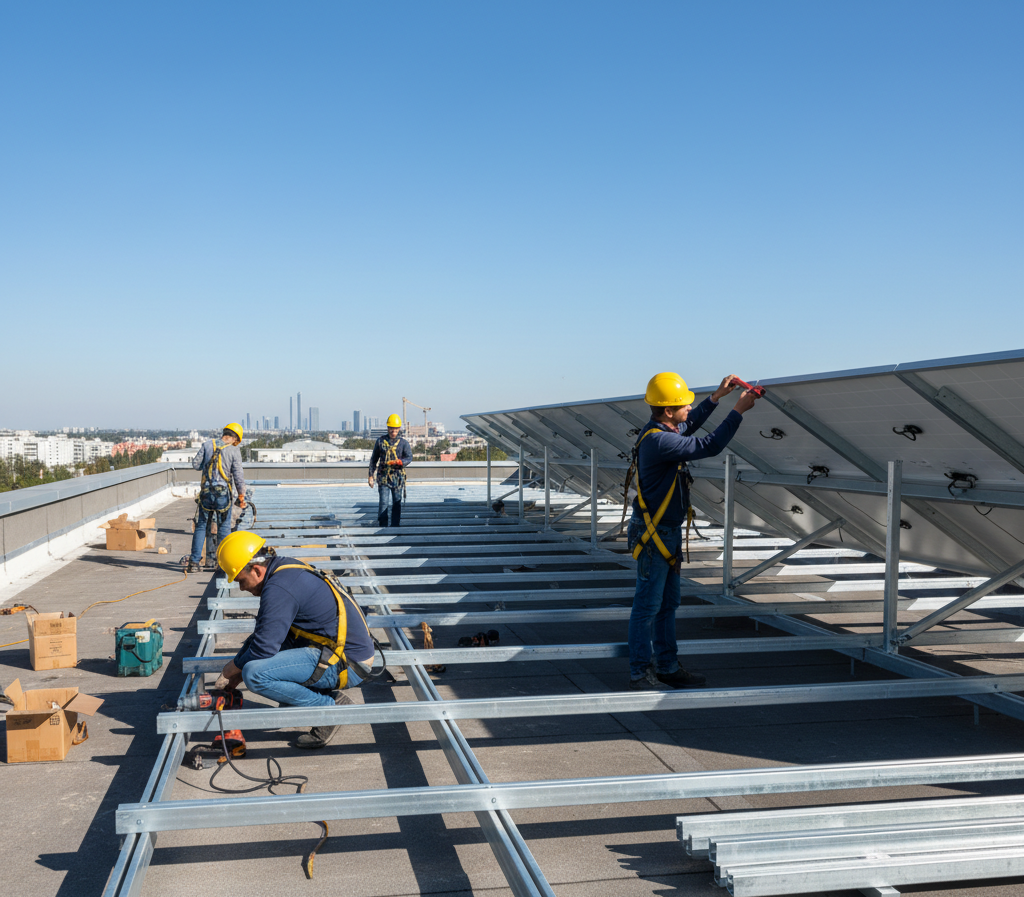
Racking is securely mounted on rafters or structural framing.
Sealing and flashing maintain roofs as waterproof surfaces.
Azimuth and tilt angles are set according to your geographical location in order to get maximum sunlight.
Structures are wind-loaded and inspected for conformity with local codes.
This step is the foundation of a healthy and safe process for solar rooftop installation.
Panel Mounting
Now is the thrilling moment: installing the solar panels.
Modules are precisely aligned and clipped at approved locations.
Little gaps are left for thermal expansion.
Torque is inspected on all the fasteners to avoid loosening.
Anti-corrosion protection is provided for long-term durability.
Proper solar panel installation keeps the system stable for decades of use.
DC wiring and strings
With panels installed, wiring connections are established.
MC4 panels are wired in parallel and series according to system design.
Reversal polarity tests are conducted to prevent reverse connections.
All connectors are tested for tightness and weather sealing.
Wires are run through conduits, with effective labeling and surge protection.
Proper wiring is a pillar of the solar PV installation process, ensuring secure and efficient power transmission.
Inverter and optional battery
The inverter converts AC electricity to DC for home or grid consumption.
Located in a shaded, ventilated, and cool location.
Correctly connected to solar array DC input.
In hybrid or off-grid systems, batteries and charge controllers are installed.
At this point, your solar rooftop installation process is complete, and it is ready to provide usable power.
Grounding and earthing
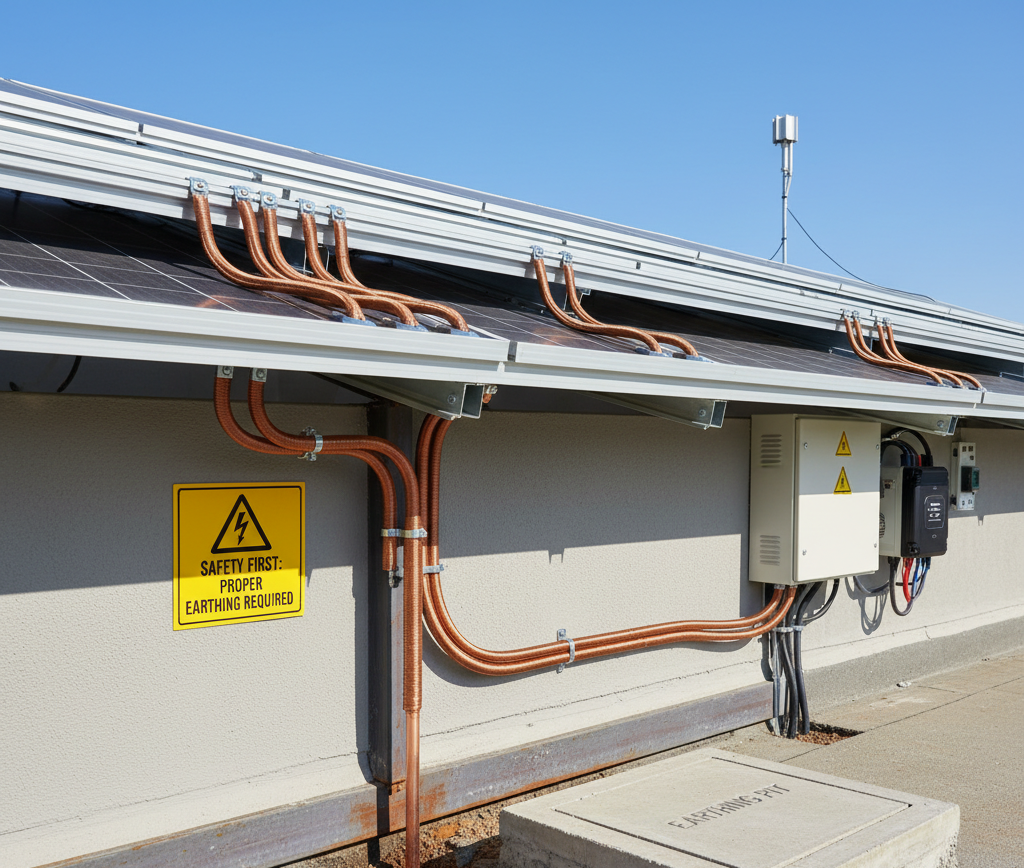
Grounding is important for safety.
All rails and frames are bonded to a grounding system.
An earthing pit or a rod is installed according to local electrical codes.
GI or copper conductors are employed for long-term conduction.
Lightning arrestors and surge protection devices are incorporated.
A safe solar panel installation procedure always gives priority to correct earthing.
AC connection and metering
Second, the inverter output is tied into your building's electrical supply.
Connection is at the main distribution board.
Appropriate breakers and protection devices are fitted.
Utility crews coordinate the installation of bi-directional or net meters.
This step finishes the electrical skeleton of the solar PV installation procedure.
Testing and commissioning
Before the system becomes live, extensive testing is conducted.
Torque testing of fasteners.
Insulation resistance and continuity tests.
Polarity and open-circuit voltage (VOC) tests.
Grid synchronization tests.
Preliminary power output checks.
All these will confirm your solar panel installation is safe and compliant.
Inspection and PTO
In order to officially begin exporting energy, utilities and local governments need to inspect your system.
Plan for inspections.
Fix any outstanding issues on the punch list.
Get Permission to Operate (PTO) from the utility.
This is the go-ahead signal for your step-by-step solar panel installation process to reach its final destination.
Monitoring and early performance
Once PTO, it's time to monitor performance.
Set up the monitoring app or web portal.
Set underperformance alerts.
Keep an eye on kWh generation and performance ratio (PR) during the first weeks.
At Emmvee, sophisticated monitoring solutions assist owners in maintaining their solar systems at their optimal performance.
Maintenance essentials
Maintenance on a regular basis guarantees a long life for your solar system.
Clean panels from time to time to get rid of dust and debris.
Look out for loose connections visually.
Re-tighten fasteners if needed.
Check monitoring logs for anomalies.
Use safe shutdown protocols during service.
This action keeps your solar rooftop installation process going smoothly for decades.
Handover checklist
Lastly, the installer hands over all required documentation.
As-built drawings of the system.
Product warranties and serial numbers.
Test reports and inspection approvals.
Maintenance schedules.

With this handover, your solar PV installation process is complete.
To wrap up
The process from site inspection to handover seems complicated, but it is actually a breeze with proper direction. Every step followed guarantees a compliant, safe, and high-performing solar system that provides clean energy for decades.
At Emmvee, we pride ourselves on simplifying the solar panel installation process to be seamless, dependable, and future-proof. As a homeowner or a business, our process ensures that your investment in solar yields dividends in performance, savings, and sustainability.